Is your toilet handle stuck, refusing to budge, leaving you in a sticky situation? Or worse yet, is it not flushing at all, causing frustration and potential embarrassment? Fear not! In this blog post, we’ll guide you through the steps to fix a stubborn or non-flushing toilet handle. From identifying the problem to disassembling and cleaning or replacing parts as necessary, we’ve got you covered. So grab your toolkit and let’s dive into the world of DIY plumbing fixes that will have your toilet back in action in no time. Click here and get best toilet seat for heavy person.
If you find this article engrossing, it is probable that you will enjoy reading about pipe lining service.
Identify the problem
Picture this: you press down on the toilet handle with eager anticipation, only to be met with resistance. It’s stuck. But why? Identifying the problem is the crucial first step in getting your toilet back on track.
One common culprit of a stuck or non-flushing toilet handle is a loose or broken chain inside the tank. When you press down on the handle, it pulls on this chain, which then lifts a flapper or valve at the bottom of the tank to allow water to flow into the bowl and initiate flushing. If this chain is disconnected or damaged, it can prevent proper flushing action.
Another potential issue could be an obstruction in the flush valve itself. Over time, mineral deposits and debris can accumulate around this mechanism, inhibiting smooth operation when you push down on that handle.
Additionally, take a moment to inspect your lift arm – that metal rod connected to your handle – as well as any other connecting parts for signs of wear and tear. Bent arms or worn-out components can interfere with their ability to properly engage and initiate flushing.
By taking note of these various possibilities and examining each component carefully, you’ll be well-equipped to identify what precisely is causing your stubborn toilet handle woes. Stay tuned for our next section where we dive into locating all those essential parts!
Locate the parts
Locating the parts of a toilet handle might seem like a daunting task, but with a little guidance, it can be quite simple. The first step is to familiarize yourself with the different components that make up the handle mechanism.
Start by looking at the outside of the toilet tank. You should see a lever or button that is connected to the handle. This is what you use to flush the toilet. Follow this lever or button down into the tank until you reach where it connects to other parts.
Inside the tank, you will find various pieces that work together to flush your toilet. Look for a metal rod or chain that is attached to the lever or button on one end and connected to another part on the other end. This connecting part may be called a flapper or valve.
Next, locate any screws or bolts that are holding these parts in place. They may be located near where they connect or elsewhere in the tank. These screws or bolts will need to be loosened in order to disassemble and access any necessary cleaning or replacement tasks.
Remember, each toilet model may have slightly different parts and configurations, so take note of how everything is connected before proceeding further.
Locating all of the relevant parts within your toilet handle mechanism involves examining both external and internal components of your toilet tank and identifying their connections and fasteners if present.
Disassemble the handle
Disassembling the toilet handle is an important step in fixing a stuck or non-flushing toilet. By taking apart the handle, you can identify any issues with the mechanism and clean or replace parts as necessary. Here’s how to do it:
First, locate the screws that hold the handle in place. These are usually found on either side of the tank. Use a screwdriver to loosen and remove them.
Once the screws are removed, gently pull up on the handle to release it from its position. Be careful not to force it, as this could cause damage.
Next, look inside the hole where the handle was attached. You may see a small rod or chain connected to a flapper valve or flush valve assembly. This is what controls the flushing mechanism.
To fully disassemble the handle, you may need to unscrew or detach additional parts depending on your specific toilet model.
Inspect each component for any signs of wear or damage. If anything looks worn out or broken, it’s time for a replacement.
Cleaning all components thoroughly with warm water and mild soap can also help resolve minor issues like sticking due to debris buildup.
Remember to keep track of how everything fits together before removing them so you can reassemble correctly later on.
By following these steps and assessing any potential problems during disassembly, you’ll be well on your way toward fixing that stubborn toilet handle!
Clean or replace parts as necessary
To fix a toilet handle that is stuck or not flushing properly, you may need to clean or replace certain parts. This step is crucial in ensuring the smooth operation of your toilet.
Turn off the water supply to the toilet by shutting off the valve located behind or below the tank. This will prevent any accidental flooding while you work on fixing the handle.
Next, carefully disassemble the handle by removing any screws or bolts holding it in place. Take note of how each part fits together so you can reassemble them correctly later on.
Inspect each component for any signs of wear, corrosion, or debris buildup. If there are visible issues such as rusted metal parts or broken plastic pieces, it’s best to replace them with new ones. Cleaning these parts thoroughly using mild soap and warm water can also help improve their functionality.
Once you have cleaned or replaced any necessary parts, carefully reassemble the handle following your earlier observations. Make sure everything fits snugly and securely before tightening any screws or bolts.
Now comes the moment of truth – test your newly fixed toilet handle! Turn on the water supply and gently press down on the lever to flush. If everything was done correctly, your toilet should now flush smoothly without any issues.
Remember that if at any point during this process you feel unsure about what you’re doing or encounter unexpected problems, it’s always best to seek professional assistance from a plumber who can provide expert guidance and ensure proper repairs are made.
Reassemble the handle
Reassembling the handle is the next step in fixing a toilet handle that is stuck or not flushing properly. Once you have identified and cleaned or replaced any faulty parts, it’s time to put everything back together.
Start by carefully aligning the lever arm with the flapper chain. Ensure that the lever arm is securely attached to the flush valve assembly. This connection allows for smooth operation of the handle.
Next, reattach any screws or bolts that were removed during disassembly. Use a screwdriver or wrench to tighten them just enough to secure the handle in place without causing damage.
Double-check all connections and make sure everything is snugly fastened before moving on.
Once you are satisfied with your reassembly job, give the handle a test run. Gently push down on it and release to see if it flushes smoothly now. If there are still issues, go back and double-check your work or consider seeking professional help.
Remember, patience and attention to detail are key when reassembling a toilet handle. Take your time and ensure everything is aligned correctly for optimal functionality.
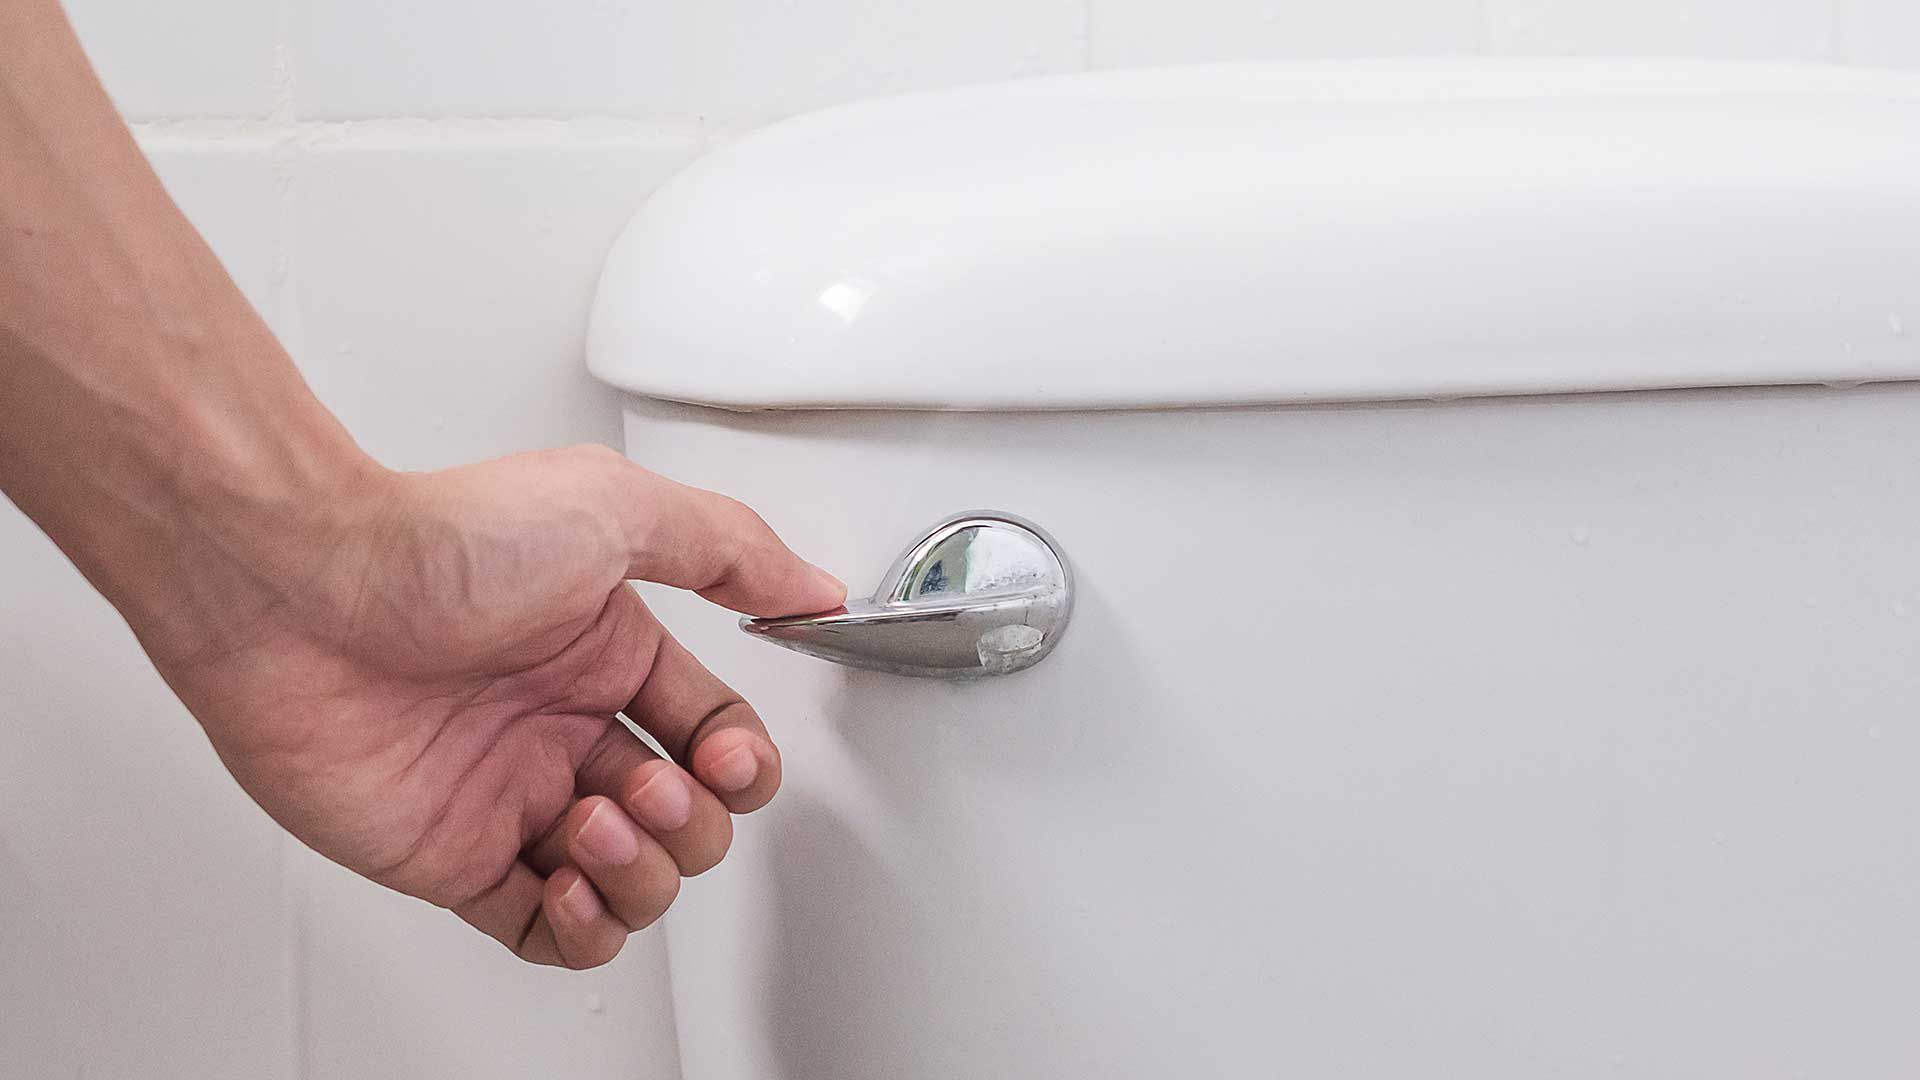
Test the handle
Now that you have reassembled the toilet handle, it’s time to test if your efforts have paid off. Gently press down on the handle and see if it flushes smoothly. If the toilet still doesn’t flush or if the handle feels stiff or stuck, don’t worry! There are a few additional troubleshooting steps you can try.
Check the chain length inside the tank. The chain should be long enough to allow for proper movement of the flapper but not so long that it gets tangled or caught on other parts. Adjusting the chain length may help resolve any issues with flushing.
If adjusting the chain doesn’t solve the problem, inspect the flapper itself. Over time, flappers can become worn out or warped, preventing them from creating a proper seal when flushed. Consider replacing your old flapper with a new one to ensure optimal performance.
In some cases, mineral deposits or debris may accumulate around critical parts such as hinges and rods, causing stiffness in movement. Cleaning these components thoroughly using vinegar or a mild cleaning solution might do wonders for restoring smooth operation.
Remember to always follow safety guidelines while working on your toilet and turn off water supply before disassembling any parts!
By following these step-by-step instructions and troubleshooting tips, you should be able to fix a stuck or non-flushing toilet handle without needing professional assistance. Remember that patience is key during this process – take your time and be mindful of each step involved.
So next time you encounter a stubborn toilet handle issue, don’t panic! Armed with this knowledge, you’ll be well-equipped to tackle it head-on. Happy fixing!