Is your sewing machine giving you a headache? Are you constantly finding yourself frustrated with broken or bent needles? Don’t worry, you’re not alone! Many sewers experience this issue, and it can be incredibly frustrating. But fear not – in this blog post, we’ll explore the reasons behind why your needle may be breaking or bending. From checking machine tension to inspecting the type of needle being used, we’ll cover all the bases so that you can get back to enjoying your sewing projects without any hiccups. So grab your cup of tea (or coffee!) and let’s dive into the world of needle troubleshooting!
Check machine tension
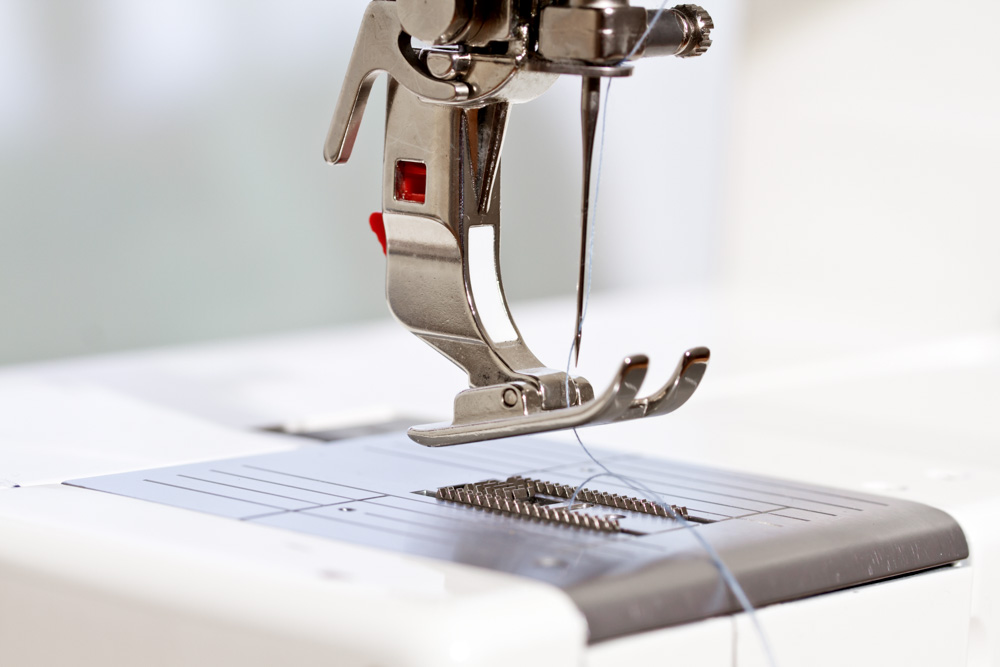
Machine tension plays a crucial role in the overall sewing process. If your needle keeps breaking or bending, it’s essential to check the tension settings on your sewing machine.
When the tension is too tight, it puts excessive strain on the needle, causing it to break or bend under pressure. On the other hand, if the tension is too loose, the fabric may not be held tightly enough, leading to skipped stitches and potential needle damage.
To ensure proper machine tension, start by referring to your sewing machine manual for specific instructions on adjusting the tension settings. Each machine can vary slightly in how this is done.
Once you locate and adjust your machine’s tension control dial or knob (usually located near the upper thread path), experiment with different settings. Gradually tighten or loosen until you find a balance where both upper and lower threads are evenly balanced within your fabric.
Remember that different fabrics may require slight adjustments in tension as well. Thicker fabrics might need a looser setting while delicate materials benefit from tighter tensions.
By regularly checking and adjusting your machine’s tension according to fabric type and thickness, you can reduce instances of broken or bent needles during stitching sessions.
Check fabric thickness
One of the factors that can cause your needle to break or bend is the thickness of the fabric you’re working with. When it comes to sewing, different fabrics have varying levels of thickness and density. If you attempt to sew a thick fabric using a needle designed for lighter materials, it’s not surprising that your needle might struggle or even snap under the pressure. Click here <a href=”katelynembroidery” target=”_blank” rel=”noopener”>katelynembroidery</a>.
To avoid this issue, always consider the thickness of your fabric before selecting a needle. Needles come in various sizes and types, each specifically designed for different fabric weights. For thicker fabrics such as denim or upholstery fabrics, opt for needles with larger numbers like 90/14 or 100/16.
It’s also important to note that some specialty needles are specifically designed for heavy-duty projects like leatherwork or quilting. These needles have reinforced shafts and sharper points to penetrate tough materials without breaking.
Remember, using the appropriate needle size based on your fabric thickness will help prevent unnecessary damage to both your project and your machine. So next time you encounter issues with broken or bent needles, take a moment to evaluate if you’re using the correct type and size of needle for the job at hand.
Check type of needle being used
When it comes to sewing, choosing the right needle is crucial. Using the wrong type of needle can cause your needle to break or bend. So, if you’re experiencing this issue, it’s important to check the type of needle being used.
Consider the fabric you are working with. Different fabrics require different needles. For example, if you’re using a heavy denim fabric, a universal or jeans needle would be more suitable than a regular sharp point needle.
Check if you’re using the correct size of needle for your project. Needles come in various sizes and selecting the appropriate one ensures optimal stitching results. A smaller size may struggle with thicker fabrics while a larger size may cause damage to delicate materials.
Additionally, pay attention to the quality of your needles. Dull or worn-out needles are more likely to break or bend during sewing. It’s advisable to replace your needles regularly and use high-quality brands that offer durability and strength.
Verify that your machine is compatible with the type of needle being used. Some machines have limitations on certain types or sizes of needles they can accommodate. Consult your machine’s manual for guidance on which needles are recommended.
By checking these factors related to the type of needle being used in your sewing machine, you can avoid unnecessary frustration caused by broken or bent needles!
Inspect the needle point
Inspect the Needle Point
One common reason for needle breakage or bending is a damaged or dull needle point. Over time, the tip of the needle can become worn down, causing it to snag on fabric and potentially snap. Inspecting the needle point regularly is essential to ensure its sharpness and integrity.
To inspect the needle point, start by removing the needle from your sewing machine. Hold it up to a light source and examine it closely. Look for any signs of damage, such as bends or burrs, which could cause friction and lead to breakage. A magnifying glass can be helpful in identifying small imperfections that may not be visible to the naked eye.
If you notice any issues with the needle point, it’s important to replace it promptly. Using a damaged or dull needle can not only result in broken needles but also affect stitch quality and potentially damage your fabric.
Regularly replacing your sewing machine needles is good practice even if there are no apparent signs of damage. Needles should generally be replaced after 8-10 hours of stitching time or whenever they show signs of wear.
By regularly inspecting and maintaining your sewing machine needles, you can help prevent breakage and ensure smooth stitching every time you sit down at your machine.
Conclusion
In this blog post, we have explored some of the common reasons why needles break or bend while sewing. By understanding these factors and taking appropriate measures, you can prevent such issues and ensure a smoother sewing experience.
Machine tension plays a crucial role in needle breakage or bending. Make sure to adjust the tension according to your fabric’s requirements. If it is too tight or too loose, it can put unnecessary stress on the needle and lead to its damage.
Consider the thickness of your katelyn embroidery. Heavy fabrics like denim or upholstery require stronger needles that can withstand the pressure. Using a needle that is not suitable for the fabric’s thickness may result in breakage or bending.
Next, pay attention to the type of needle being used. Different projects call for different types of needles – from universal ones for general sewing to specialized ones for specific materials like leather or knits. Using an incorrect needle type can cause it to snap under strain.
Inspecting the condition of your needle point is essential. A dull or damaged point can struggle to penetrate through fabric layers smoothly and increase the risk of breaking or bending. Regularly change your needles as soon as you notice any signs of wear and tear.
By considering these factors – machine tension, fabric thickness, type of needle being used, and inspecting the needle point – you will be better equipped to troubleshoot any issues with breaking or bending needles during your sewing projects.
Remember that practice makes perfect when it comes to sewing! With time and experience, you will develop a better understanding of how each factor influences your stitching results.
So keep calm and sew on! Happy stitching!